Powered by Blogger.
RSS
Showing posts with label Norashikin Basiron. Show all posts

Fondants for Cupcakes Part 2

Due to popular demand, another class on fondants by Pn.Shikin is held featuring the same designs.
As usual, the class starts off with a briefing of the basics of handling fondants.


 Then they roll out a piece of fondant to make the base using the fondant cutter.


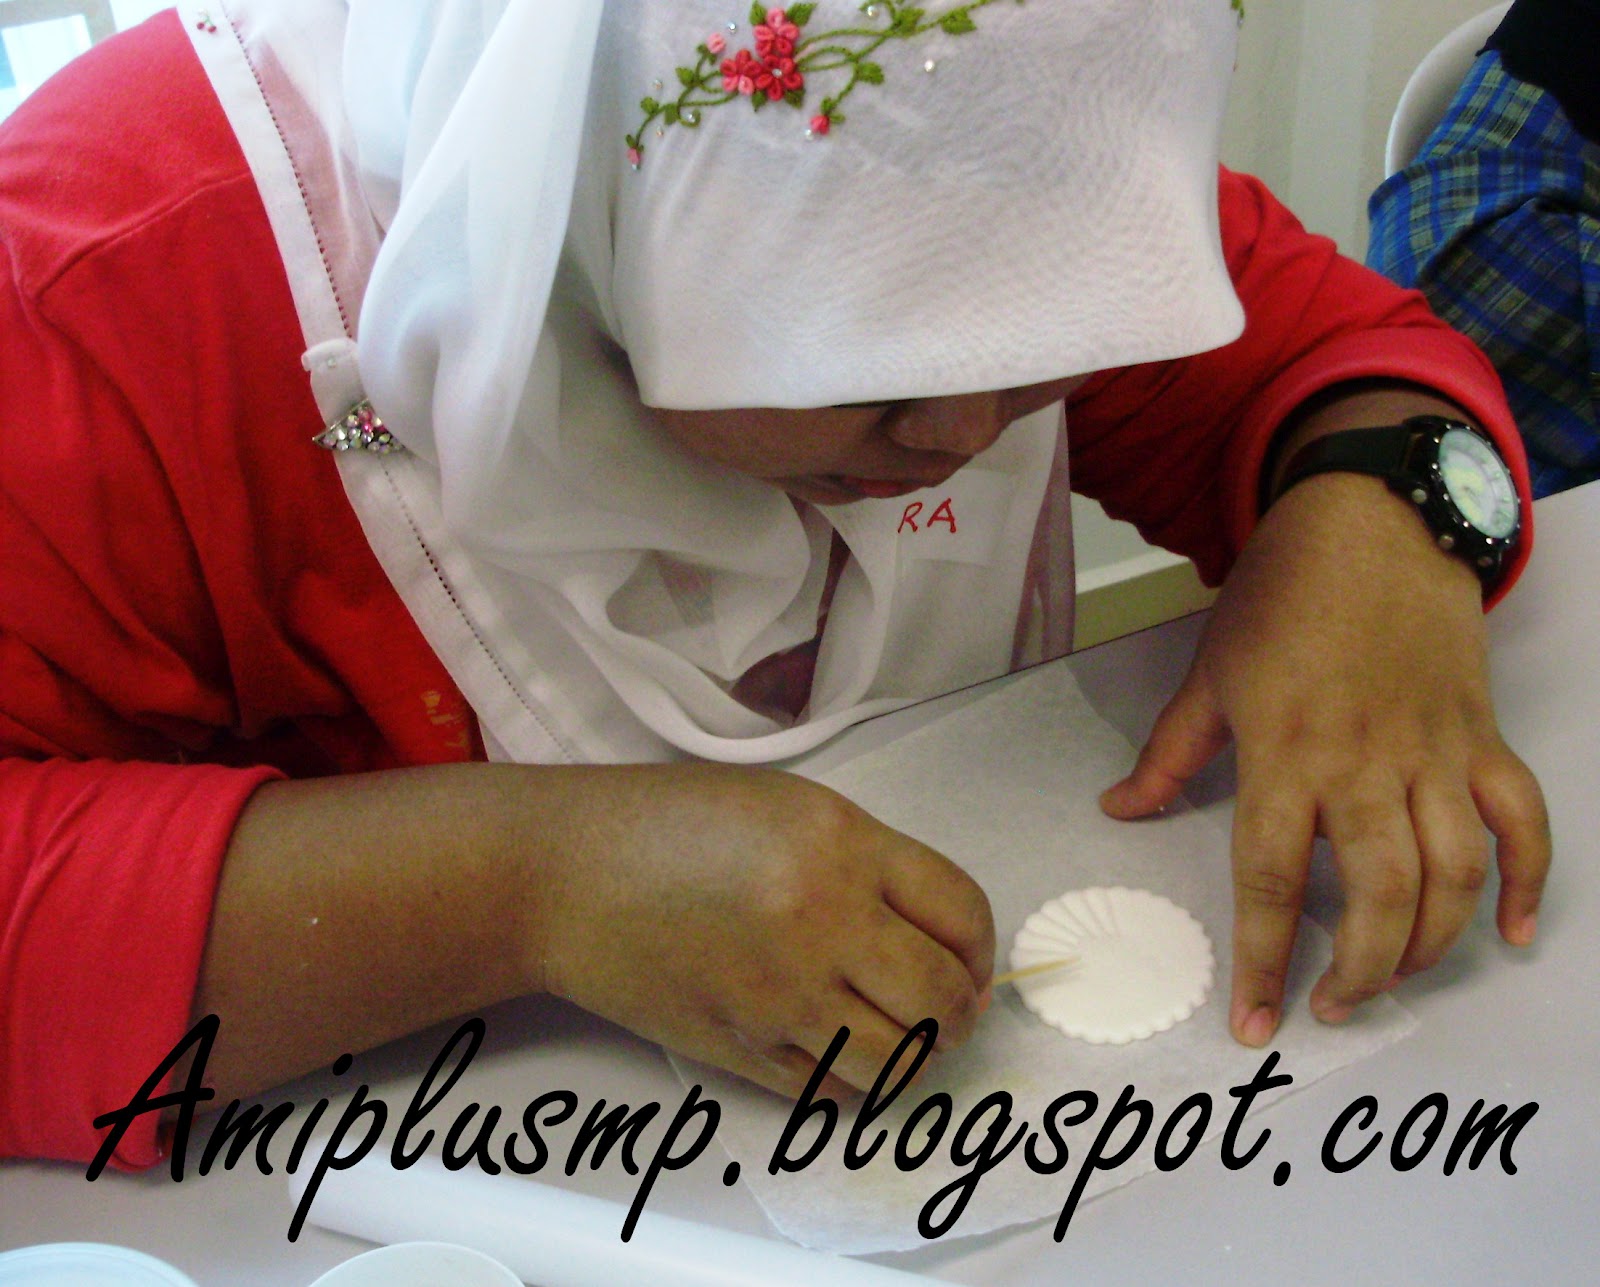
The bases are decorated with toothpicks.

 Next, little multicoloured balls of fondant are made with just the 3 primary colours:red, blue and yellow.


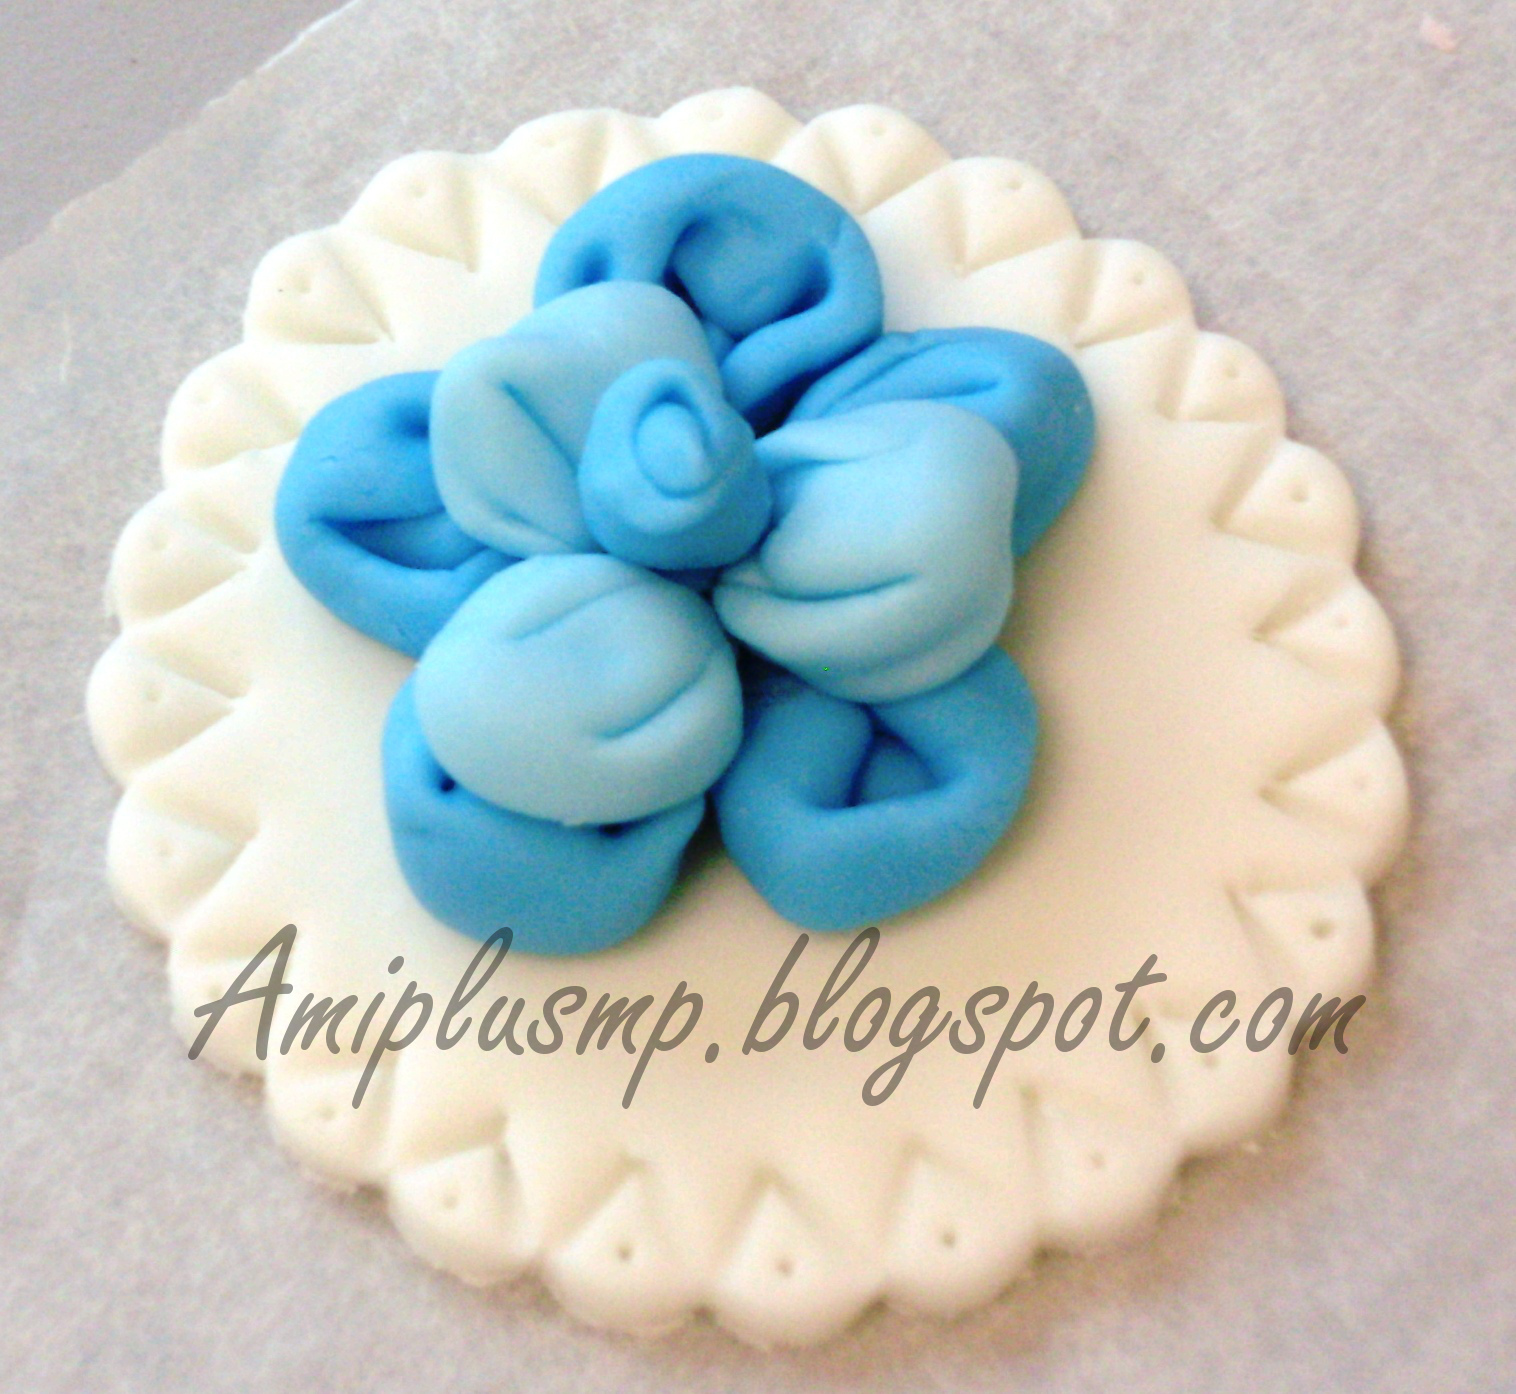
With that done, we move on to making the ribbon flowers. First you cut out some fondant strips(ribbons)

 Then join the two edges together so that it's folded in half but don't pinch it flat. Make five of those and glue them together using CMC.

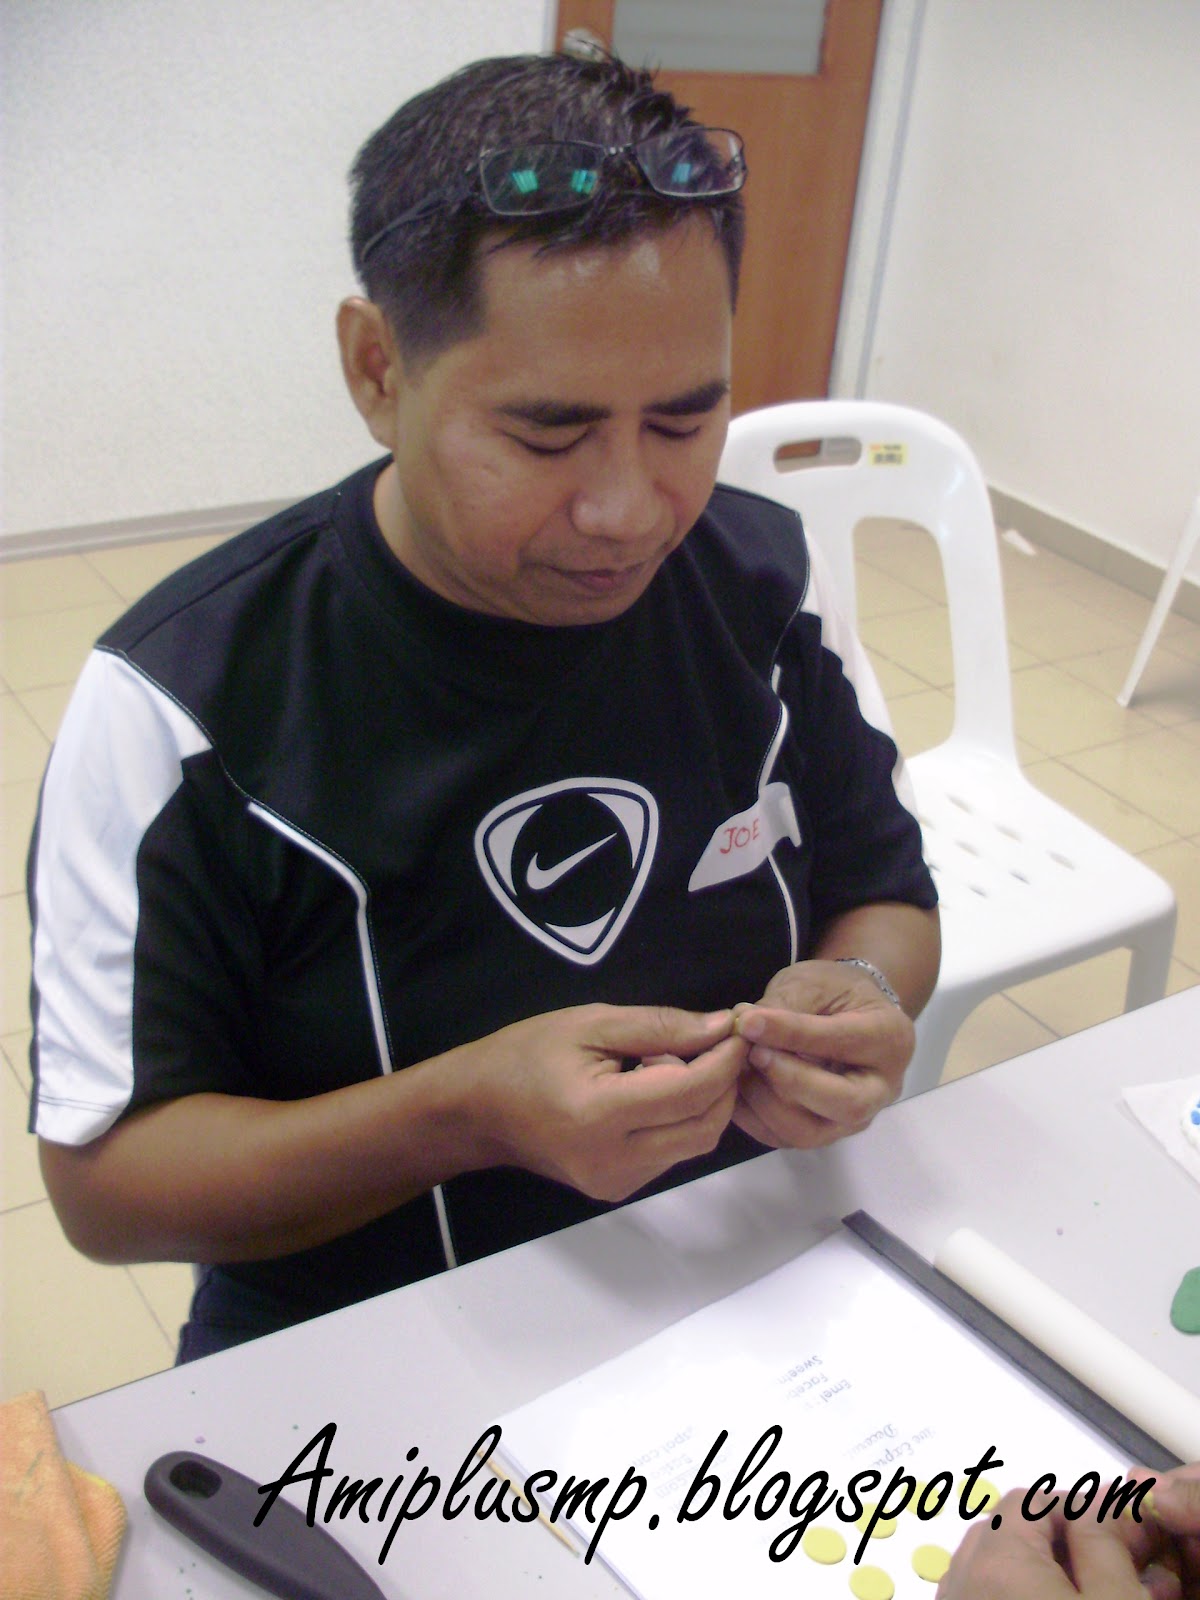
Now everybody tries!


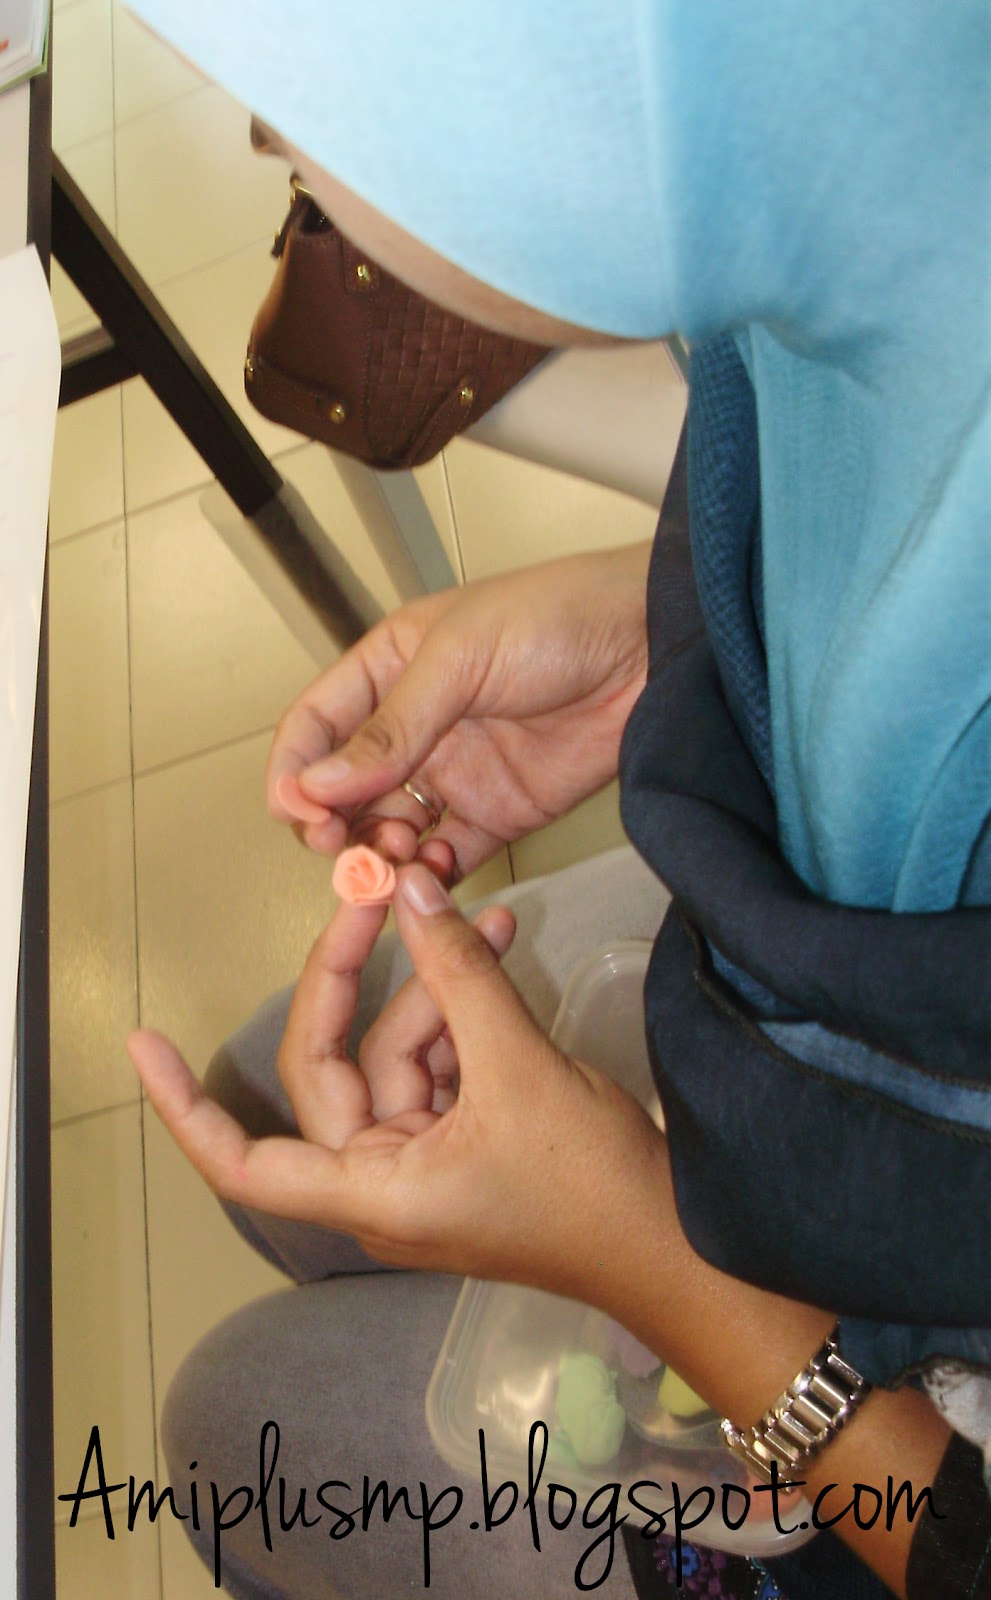
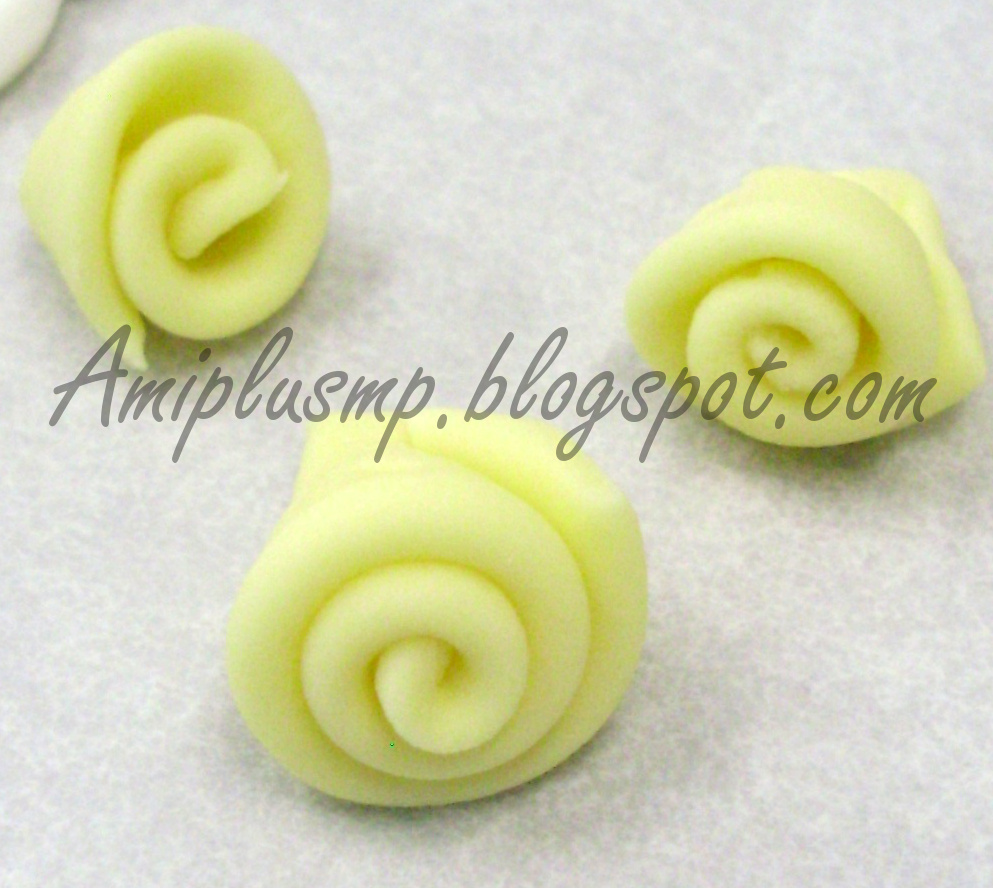
 For the next flower, the roses..again starting with the ribbons again but using a different technique.


Add piping jelly for a little shine on your fondant flowers

 For more on the previous class, click on this link ->Fondant for Cupcakes Part 1

  • Digg
  • Del.icio.us
  • StumbleUpon
  • Reddit
  • RSS

Fondant for Cupcakes

Everyone went back to their childhood on the 13th of May as they enjoyed Ms. Norashikin's class of fondants for cupcakes. Why? It was a long yet fun and exciting day for everybody as they learned many flower designs from a well-qualified teacher.


First lesson was learning how to knead the fondant with colour.


Doesn't it all look like play-doh?
Then, they rolled it out and cut it out with a fondant cutter to make the base.


Then, using really small bamboo skewers, they add decorative details..


With the bases done, the flower making begins..
First, the lesson on bunga riben or ribbon flowers.


This was made by Ms. Norashikin beforehand


First, she cut out small pieces of ribbon-shaped fondant (thus the name) and rolled it with her skilled fingers..


And now, all their work...


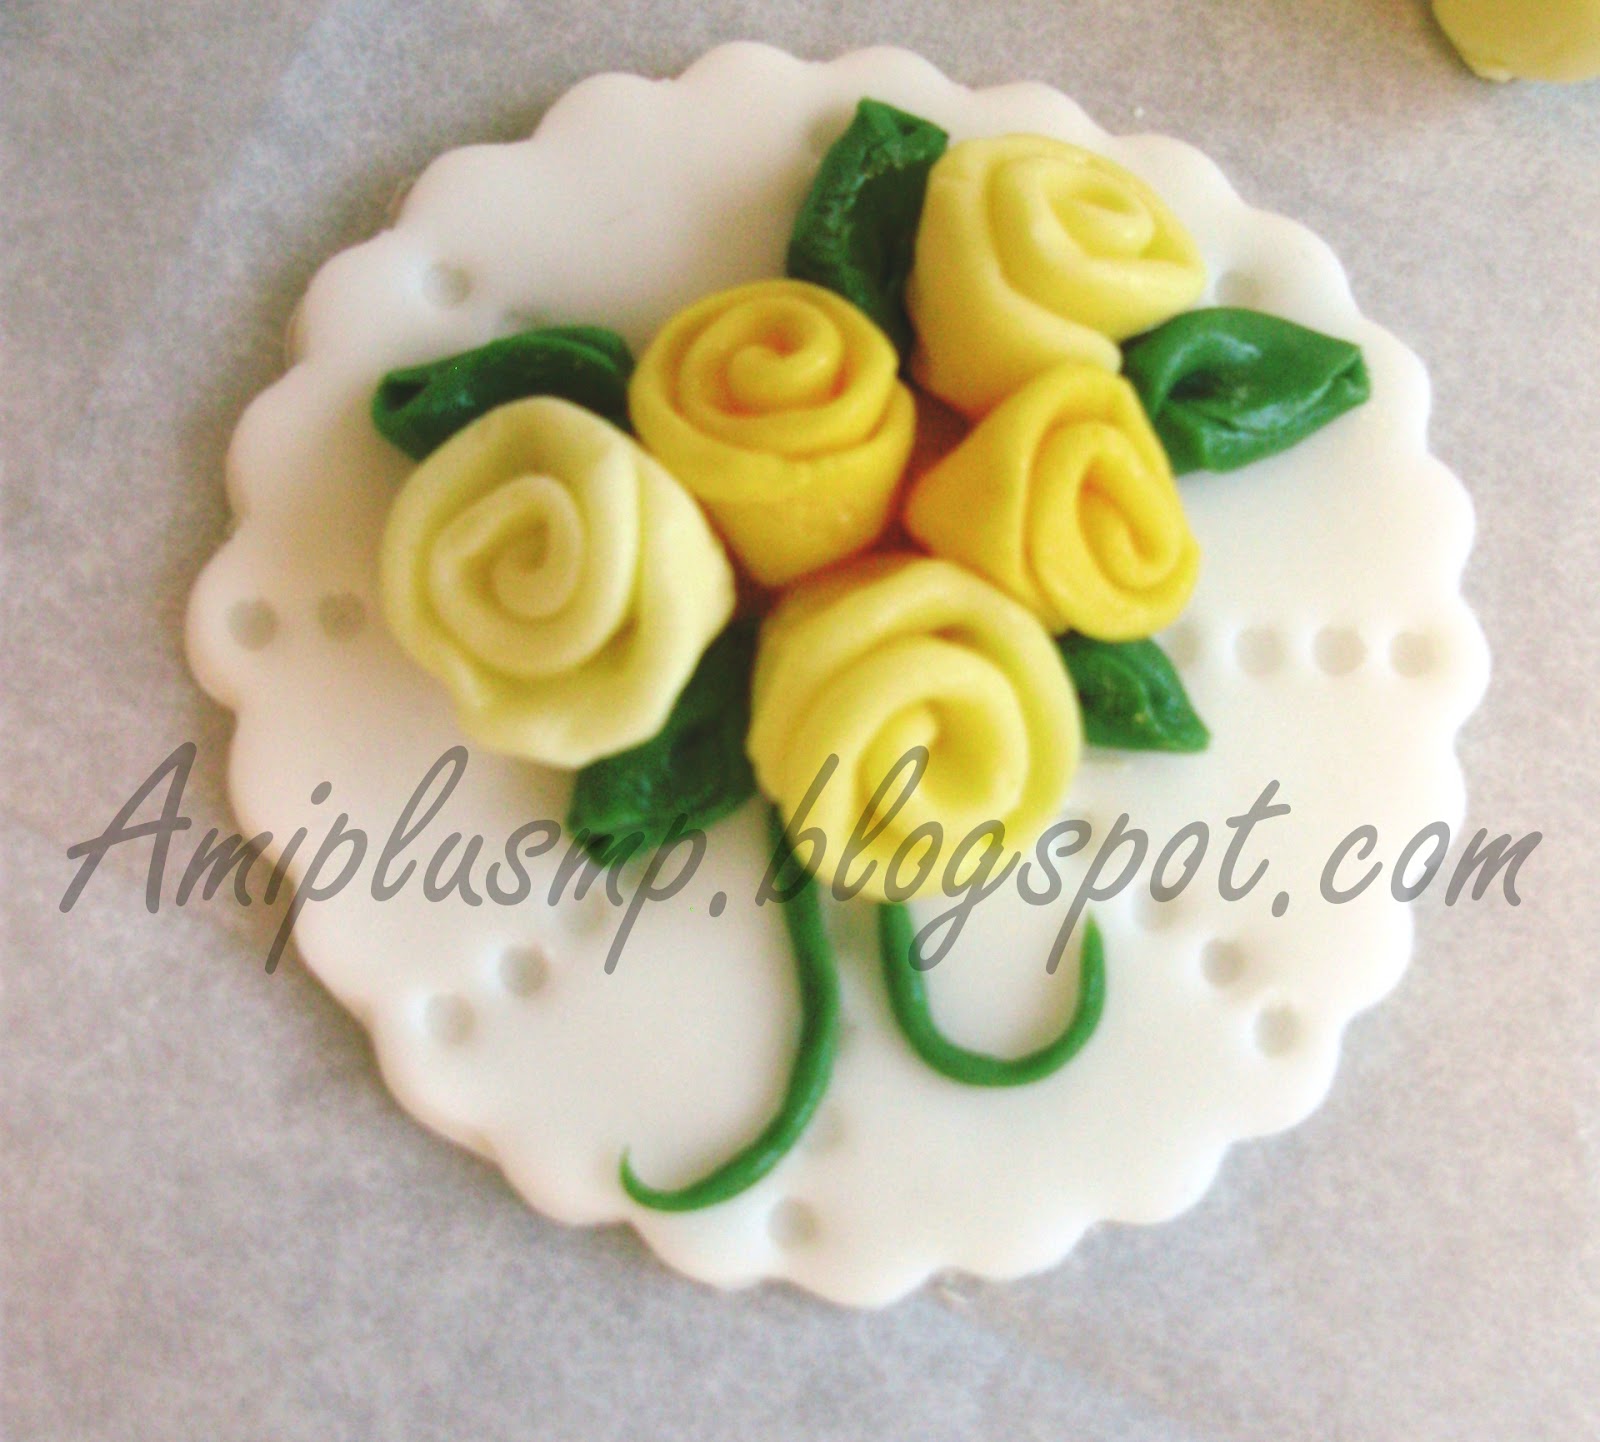
For detail, they added leaves and vines around the flowers and glued them on using CMC and a little piping jelly for a little shine


 Moving on to the 2nd decoration, flowers and butterflies


Made by Norashikin Basiron


Everybody gave it a try...it was a lot harder than it looks to get it perfect..


For the leaves, just use vine-like bits of fondant and wrap them to create layers.


With that done, we move on to the 3rd design of the day,


Made by Norashikin Basiron
 First, you make ribbons...


then u fold them to make ruffles like so...


and put them together to make a very pretty flower.


 Now for the 4th decor, the most popular...ROSES
You start off with a flat round piece of fondant and make a cone for d middle...then you just wrap more round pieces of fondant around the cone.


Made by Norashikin Basiron

 It wasn't easy to perfect but i think everybody did a great job! Don't you think so?


 We're reaching the end of the class sadly :(
Ms. Norashikin ended this class with a simple demo on making a cute little 3-D bear out of fondant.


That's it for today's class. Due to popular demand, Ms. Norashikin will be having another class here in Amiplus for participants who couldn't make it for this class. If you are interested in joining her next class, please check out this page.

  • Digg
  • Del.icio.us
  • StumbleUpon
  • Reddit
  • RSS